Installing WordPress on your local Windows PC is a great idea. You can use it for website development, testing purpose or to even learn WordPress.
Installing WordPress on your local machine can be a bit tricky. In this post I will explain you have how to install XAMPP and WordPress without any confusion.
Let’s divide the installation into 5 step process:
- Install XAMPP software
- Start Apache and MySQL
- Download and extract WordPress files
- Create new MySQL database
- Install WordPress and access the website
Install XAMPP Software
- Download XAMPP (Windows Installer) from Apache Friends
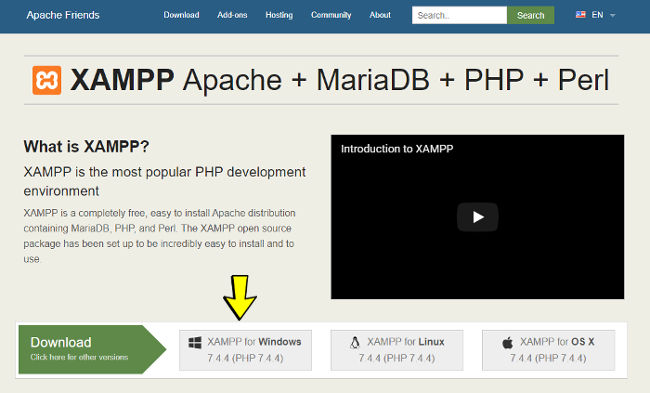
- Run the downloaded file to launch XAMPP installer.

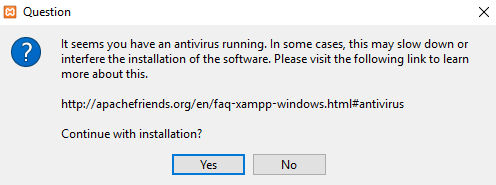
- Sometime you get antivirus warning as shown below. Just click ‘Yes’ and continue.
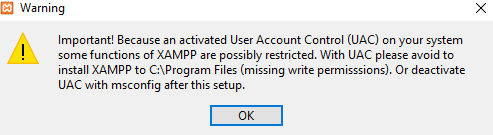
- In addition, based on your PC configuration, you may also get “User Account Control (UAC)” warning. Just click ‘Ok’ and continue.
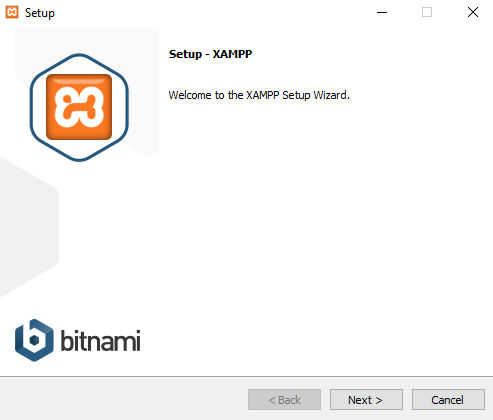
- Once you get through all of the prompts, you should see the standard installer screen as shown below. Click ‘Next’ to continue.
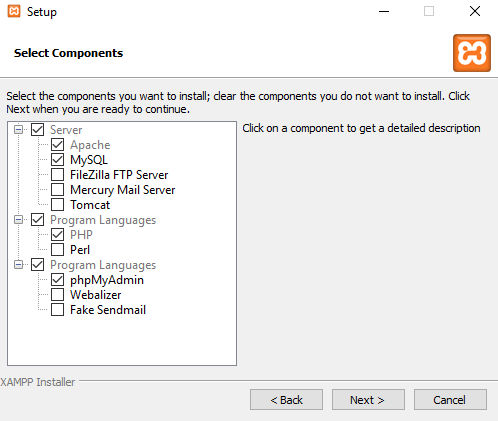
- Now you need to choose Components for installation. Select Apache, MySQL, PHP and phpMyAdmin as shown below.
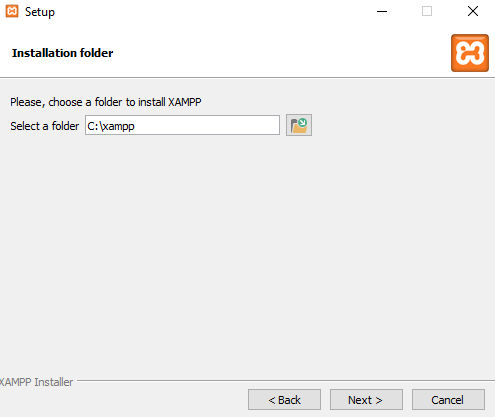
- Select which folder to install XAMPP. You can leave it as default.
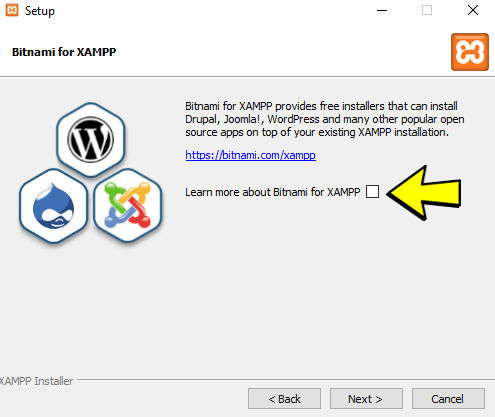
- On the next screen, you’ll get a prompt asking you to install Bitnami for XAMPP. Uncheck the option as shown below.
- Once you click next, the installation process begins. It might take few minutes to complete.
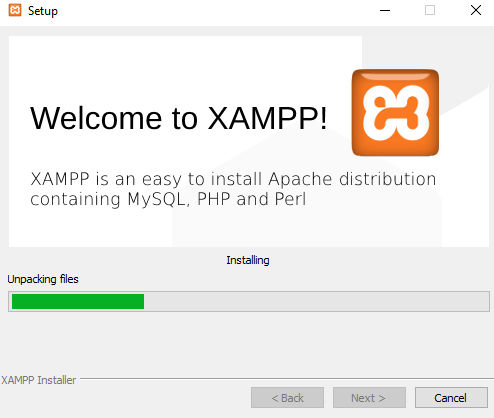
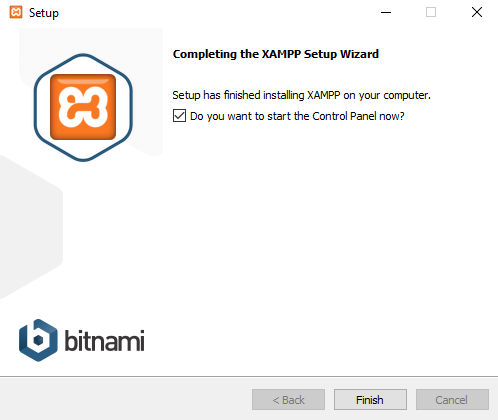
- Now click Finish and launch XAMPP.
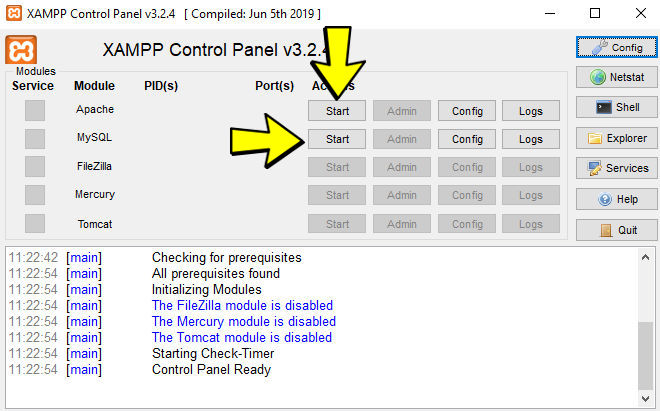
Start Apache and MySQL
- Let’s start the XAMPP server now. We need to start Apache and MySQL. Hit the Start button against Apache and MySQL as shown below.
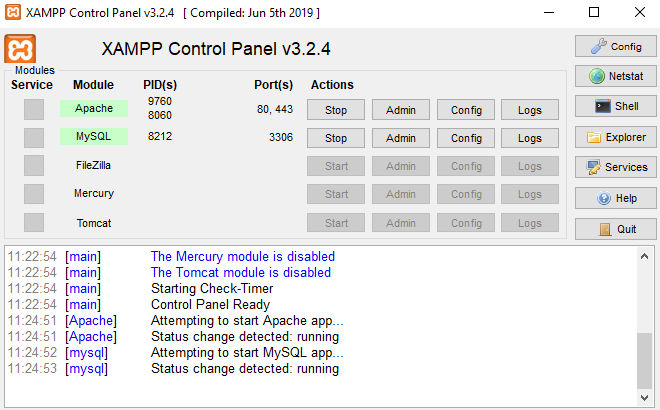
- Once started, you’ll see green label as background against their name.
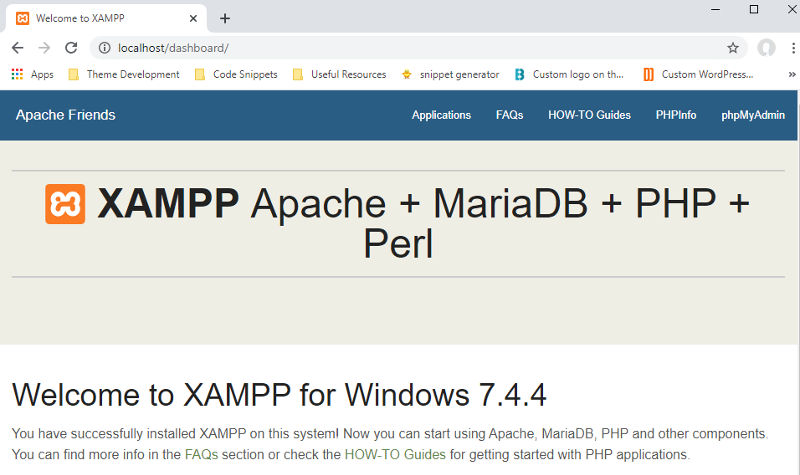
- Access the URL http://localhost/ in your browser. You should see a page like the one shown below.
Download and Extract WordPress Files
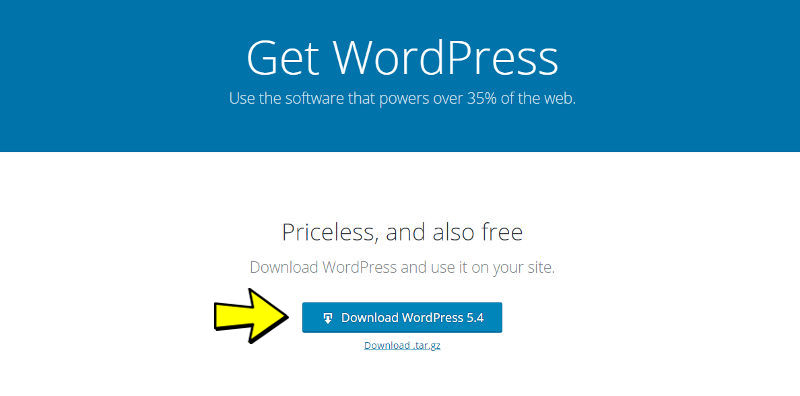
- Download WordPress from https://wordpress.org/download/
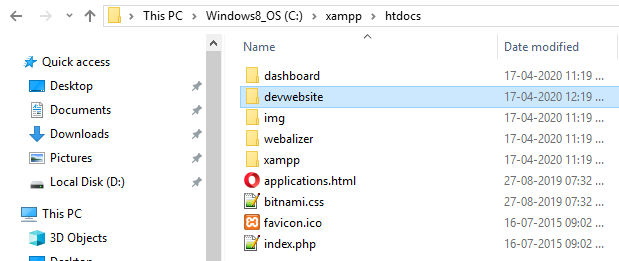
- Navigate to the XAMPP installation folder. It should be C:\XAMPP
- Under C:\XAMPP, you’ll find a folder named ‘htdocs’. Select the folder.
- Create a new folder called “devwebsite”
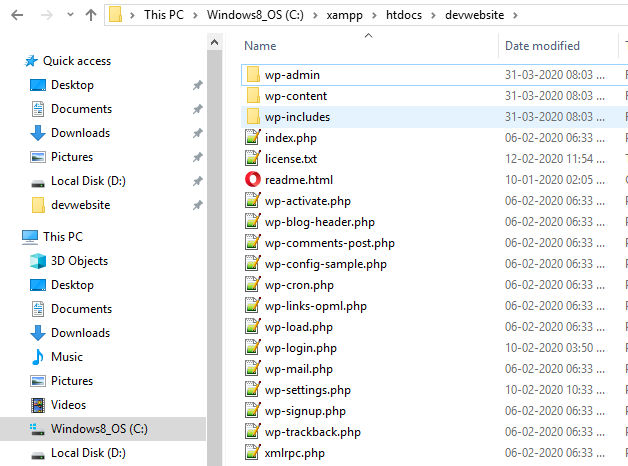
- Extract the WordPress zip file within “devwebsite” folder as shown below.
Create New MySQL Database
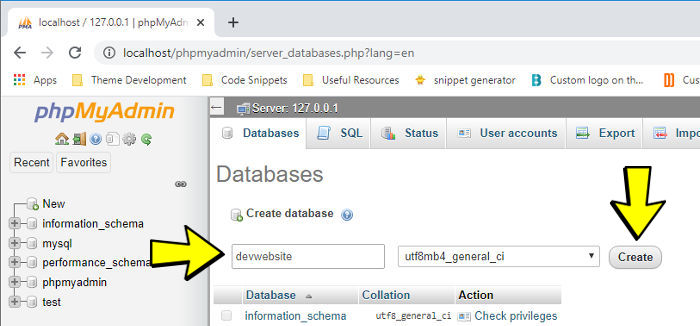
- Access http://localhost/phpmyadmin/ in your browser and hit “Databases” tab as shown below.
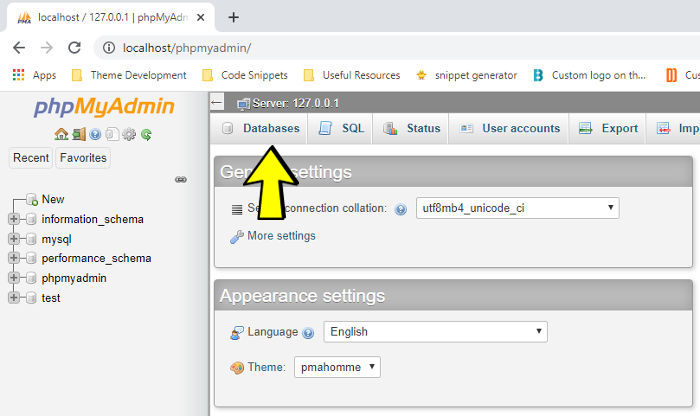
- Enter a name for your database, let’s say “devwebsite” and click “Create” button to create a new database.
Install WordPress and Access Website
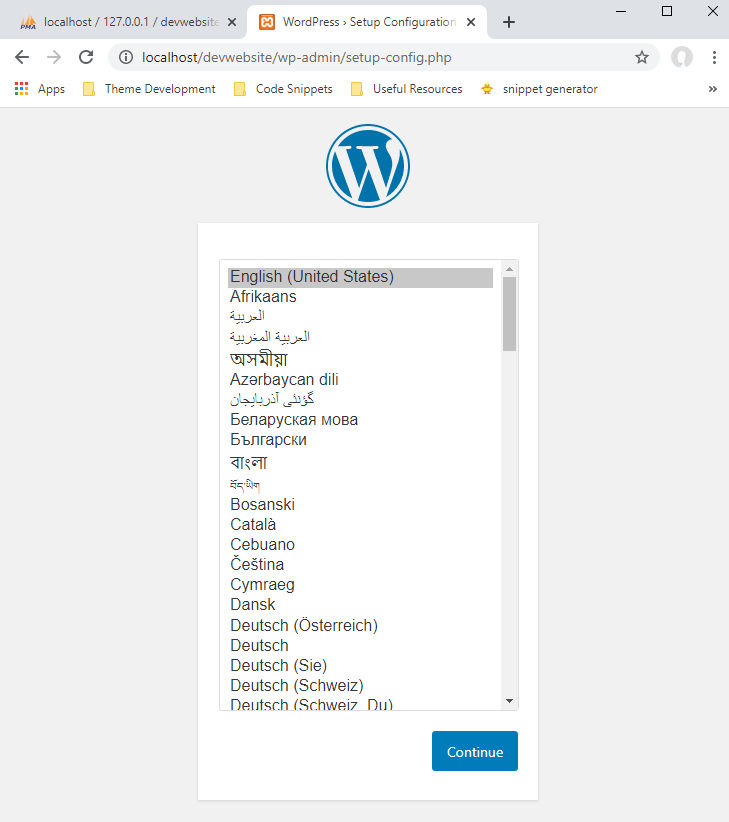
- Now we’re ready to install the website. Access http://localhost/devwebsite in your browser. You’ll be presented with WordPress installer. Click “Continue” to proceed.
- Enter database and other details as shown below.
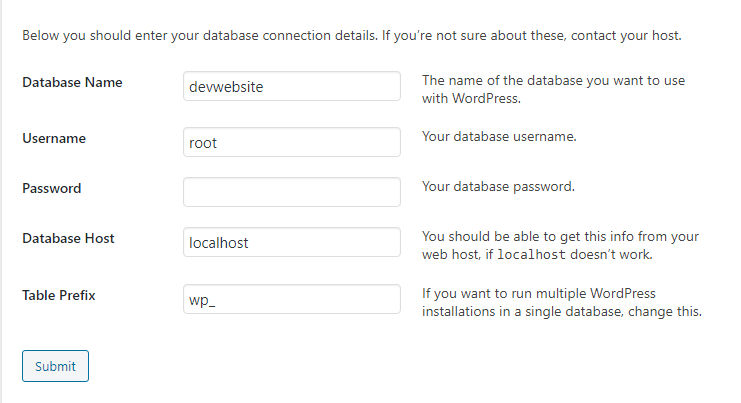
- Click “Run the installation” to proceed.

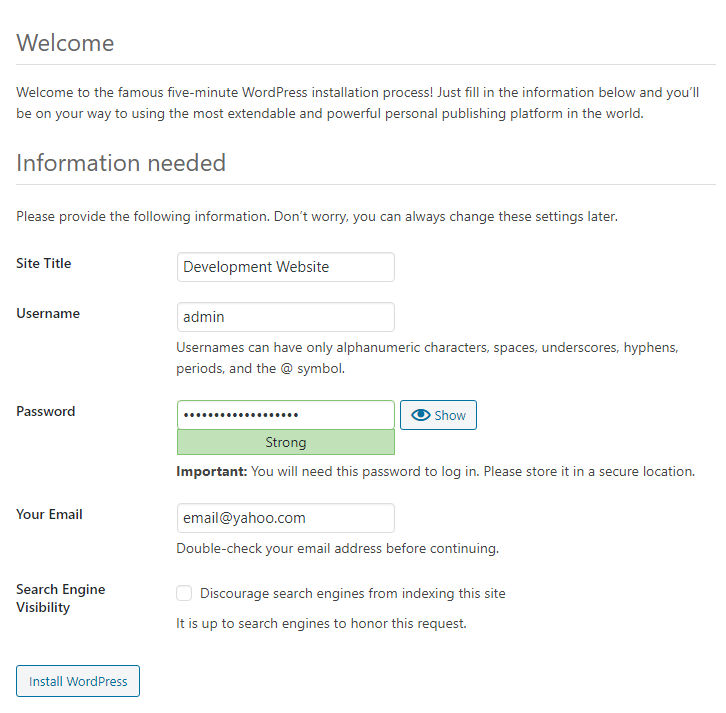
- Input Site Title, Username, Password, Email and click “Install WordPress” button.
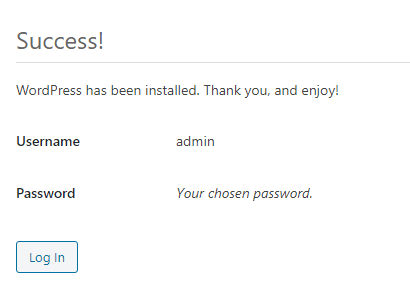
- If all goes well, you’ll see a success message as shown below. Hit the “log in” button.
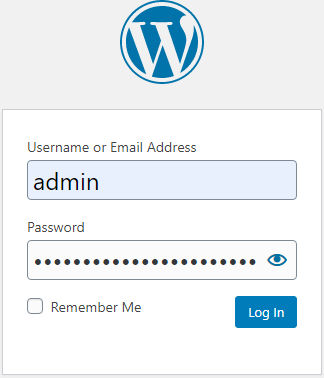
- Enter Username and Password to access the website’s back-end.
- Icon by ITIM 2101