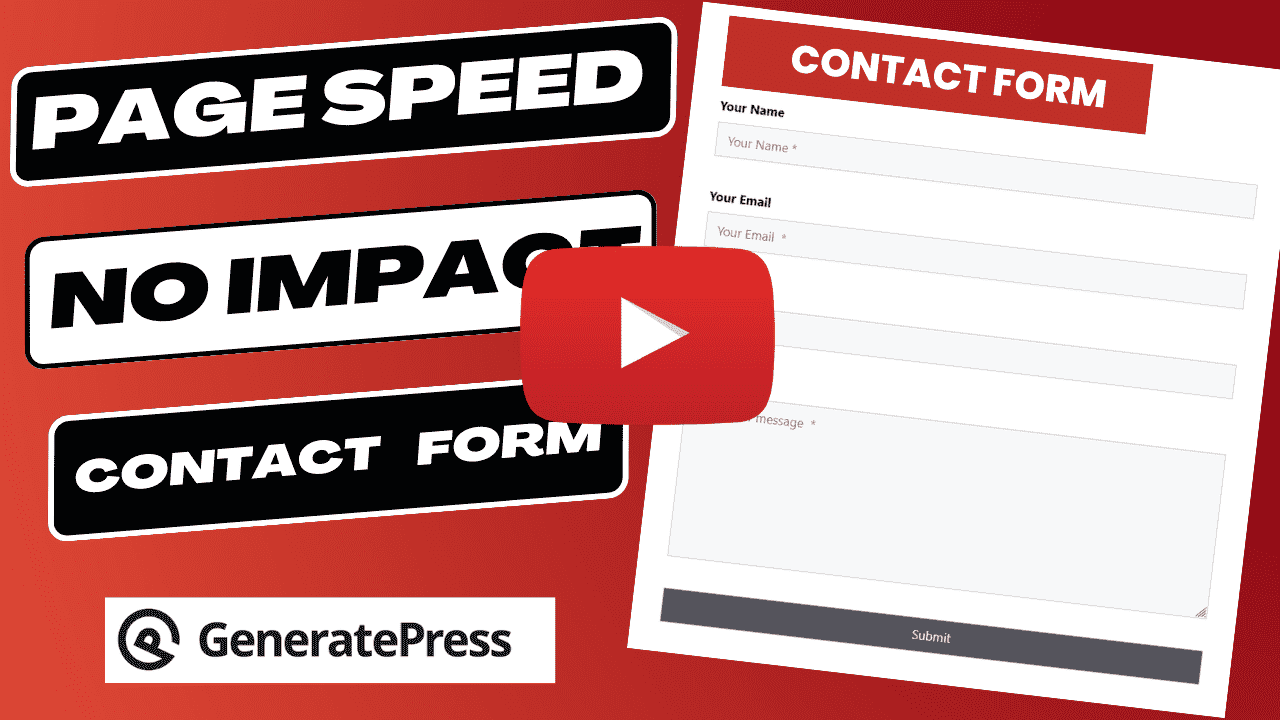
It’s no surprise that the contact page is among the top three most important pages of any website. When you’re building a community or audience online, you should provide a way for your audience to communicate with you.
So, building a Contact Form for your website is very important.
However, when it comes to building Contact Form, WordPress users mostly prefer –
- WPForms
- Ninja Forms
- Contact Form 7
- Forminator
- HappyForms
- Formidable Form
- GravityForms
These form plugins are fantastic, very popular and comes with visual form builder to build any type of complex forms.
However, if you’re just planning to create a simple Contact Form, then you don’t need any of the above plugins.
Instead, you can use an awesome plugin called “HTML Forms” by ibericode.
- It’s extremely simple and lightweight plugin.
- It won’t affect your website’s speed.
- It comes with built-in spam protection (works very well)
- No complicated drag & drop interface
- It can save the form entries directly to database
- It can send form entries to your email address
- It’s truly a high performing form solution by ibericode
How to Create and Style Contact Forms
- Watch the below video to learn how to use HTML Contact form plugin.
- Use the Custom CSS and Custom Contact Form Layouts to make your Contact Form stand out.

Custom HTML Form CSS
.wpf-html-form input,
.wpf-html-form textarea,
.wpf-html-form select {
	width: 100%;
	margin-bottom: 15px;
	border: 1px solid #cccccc;
	padding: 10px 15px;
}
.wpf-html-form label {
	display: block;
	padding-bottom: 10px;
	font-weight: bold;
}HTML Contact Form Code
Layout 1
<div class="wpf-html-form">
  <p>
	<label>Your Name</label>
    <input type="text" name="NAME" placeholder="Your Name *" required />
</p>
<p>
    <label>Your Email</label>
	<input type="email" name="EMAIL" placeholder="Your Email  *" required />
</p>
<p>
	<label>Subject</label>
    <input type="text" name="SUBJECT" placeholder="Subject  *" required />
</p>
<p>
	<label>Message</label>
    <textarea name="MESSAGE" rows="8" placeholder="Enter your message  *" required></textarea>
</p>
<p>
	<input type="submit" class="button" value="Submit" />
</p>
</div>Layout 2
<div class="wpf-html-form">
  <p>
	<input type="text" name="NAME" placeholder="Your name *" required />
</p>
<p>
	<input type="email" name="EMAIL" placeholder="Your email  *" required />
</p>
<p>
	<input type="text" name="SUBJECT" placeholder="Subject  *" required />
</p>
<p>
	<textarea name="MESSAGE" rows="8" placeholder="Enter your message  *" required></textarea>
</p>
<p>
	<input type="submit" class="button" value="Submit" />
</p>
</div>
Hello,
I am glad to build my own form taking step by step you mentioned. Could you explain why I couldn’t receive emails despite successful submissions?
Make sure your web hosting is configured to send emails. In addition, to improve email delivery you can also use SMTP plugins like “WP Mail SMTP by WPForms”.
Hope this helps!